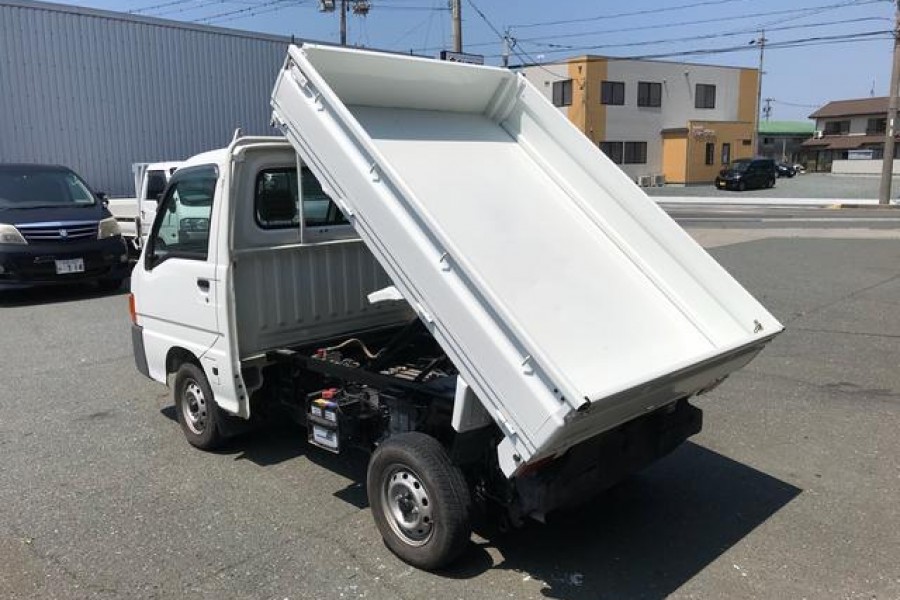
Changing A Universal Joint Of a Subaru Sambar

A universal joint is necessary to facilitate the power movement to the rear wheels of your Subaru Sambar. The crucial role it plays exposes it to tear and wear with time. When worn out, you will note signs that the Subaru Sambar will display. Replacing a worn-out universal joint is not complex if you have automotive experience. This guide will simplify changing universal joint of a Subaru Sambar as part of its maintenance. Consider the below procedure to replace your U-Joint.

Inspect the U-Joint of Your Subaru Sambar

Inspect the u-joint by holding and trying to move the driveshaft. If the shaft moves, then the U-joint is worn out, and you should replace it. Check for physical damages on the driveshaft or any impurity clinging on it as such cause imbalance and make your minitruck vibrate when driving.

Remove the driveshaft

After noting that your U-joint is worn out, assemble these materials to remove the driveshaft; Drain pan, Sockets and Ratchets, Glasses and gloves, and Wrench set. Lift your mini truck to access the driveshaft. If you use a jack to lift your vehicle, make sure it’s supported with the jack stands for your safety. Mark the driveshaft to help you install it back in its original position. Locate the bolts holding the driveshaft and loosen them. After successfully removing the bolts, pull out the driveshaft from the transmission.

Check Again the Condition of the U-Joint

After removing the driveshaft, do further inspection of the U-joint by trying to move each joint. If the joints are not moving smoothly, there is a problem with the U-joint that should be addressed.

Replace the U-Joint

You need the following materials for this process to be successful: Hammer, Pliers, Sockets and Ratchets, and the new U-joint.

Remove the snap rings for the bearing caps to come out quickly. To remove the old U-joint, you must apply some force, and the hammer will serve you better. Use the hummer to hit it hard, and it will come out. When installing the new joint, inspect it and ensure it is similar to the old one. The new joint will have new caps, remove them and install them on the yoke. If the new joint is tight, gently hummer it, and it will be free.

Fix Back the Driveshaft

Clean the entire driveshaft using a rag before installing it back. When fixing it on the transmission, ensure the marks you made while removing it are correctly aligned and tightened. At this point, the Subaru Sambar is almost ready to hit the road. Before leaving, check if transmission fluid was lost during the process and take necessary action.

Conclusion

Changing a universal joint of a Subaru Sambar can be a satisfying job if well done, and you can feel the difference. Sometimes poor maintenance and rust might make replacing your U-Joint difficult. You have to be patient because you shall succeed by the end of the day. Make sure you are accompanied by your mechanic when you replace the U-joint.

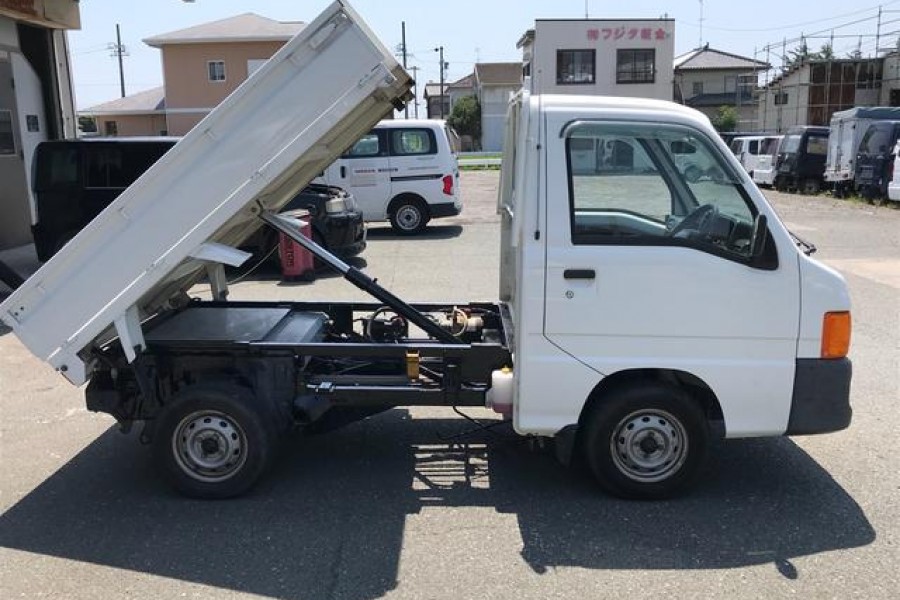
How To Change Subaru Sambar Fuel Pump

The legendary Subaru tops the list in the manufacture of mini trucks. The Japanese who love the six-star logo prefer owning this mini truck to other mini trucks. This truck is the unique vehicle Subaru company has ever made. This is the only Subaru vehicle with the smallest engine size and not running on a boxer engine. Yet this mini truck has proven to be reliable and resilient. As much as Subaru Sambar is a reliable mini truck, it might face common mechanical issues related to any motor vehicle. This guide focuses on the process to change the Subaru Sambar fuel pump, and how you can change it.

Understanding The Fuel Pump

All vehicles with an internal combustion engine run on fuel. They have fuel tanks of various capacities. The Sambar has a fuel tank capable of holding up to 40 liters. The fuel pump performs the role of pumping the fuel from the tank to the fuel injectors located at the engine cylinders. The fuel pump does this at a given pressure to continuously deliver an equal quantity of fuel into the cylinders. The mixture of fuel and oxygen in the cylinder burns to produce energy that rotates the wheels.

The engine cannot generate sucking energy to bring fuel from the tank to the cylinders. There are some automobiles without a fuel pump. As such, the fuel tank is slightly higher than the engine. The fuel uses gravitational pull to reach the cylinders. The fuel pump’s role is vital; the engine cannot start if it misses. 

What if it becomes faulty? Your Sambar mini truck is may fail to start correctly if it lacks the power to go up the hill or carry heavy loads, and it may also go off in the middle of the road. If you see these signs, your fuel pump could be faulty. Here is how you can replace it.

Replacing the Fuel Pump of a Subaru Sambar

It is necessary to be cautious when changing the fuel pump because you will be directly dealing with fuel. Let safety measures be your priority. Perform the following procedures to replace your fuel pump.

Lift your Subaru Sambar slightly higher for you to access the fuel tank. Remove dirt around the fuel tank, and drain all gas from the tank in a clean container that cannot contaminate it. Remove the clamps holding the fuel tank. As you do this, hold it, so it does not drop. 

Detach all the wires and the fuel tubes from the tank, then clean its upper part. After cleaning, locate the fuel pump and extract it with its components. Do not damage the fuel pump because some of the components of the old fuel pump will be necessary to install the new one. 

Install the new system and do the reverse procedure to fix back the fuel tank. Install a new fuel filter when fixing a new fuel pump. After firmly fixing the fuel tank, fill it with fuel and start the engine. As the engine is running, check round in case of any leakage.

Conclusion

Using this guide, you can change the Subaru Sambar fuel pump easily on your own. In case you are not sure, consult a professional mechanic.

How to Adjust Windshield Wipers of a Subaru Sambar

The legendary Subaru Automakers are popular for the famous boxer engine and manufacture of rally cars. The company also competes in the production of Kei trucks. The aim of producing Sambar is to compete with other automakers such as Suzuki, Honda, Daihatsu, and Toyota, which makes the mini trucks. Subaru car enthusiasts will definitely love Subaru Sambar. In this guide, we will go through how to adjust windshield wipers of a Subaru Sambar.

The windshield in a vehicle has a protective role for the driver and other occupants. As the vehicle is in motion, it opposes wind and encounters dirt and other obstacles that might endanger the occupants’ lives. The protective role played by the windscreen makes it dirty. A dirty windshield impairs the vision of the driver. Wipers play the role of cleaning the windshield. However, with time, the wipers become loose and need to be adjusted.

How to Adjust Windshield Wipers for Subaru Sambar

Windshield wipers attract debris when the vehicle is parked or in motion, which can be removed by knocking the wiper against the windshield. Doing this with time loosens the wiper. Here is how you can adjust the wiper of your Sambar Kei truck.

Check if the Wiper Switch is on

Turn off the wiper switch, and the wipers will drop automatically to a resting position. Switch off the ignition and remove the key.

Remove the Plastic Dust Cap

Before doing this, ensure the arm is in a good position. To remove the plastic cap, you will require a flat screwdriver of a small size. There are minor distinctions on the dust cap, put the screwdriver on them, and the cap will come out. After removing the cap, the nut will be visible.

Examine the nuts

Take time to study the nut. This will help you to choose a socket that fits it. After finding a socket that fits the nut perfectly, you might consider supporting it with a ratchet.

Tighten the Nut

Ratchets can either fasten or loosen nuts. In this case, we are not removing the wiper but need to adjust it to function correctly. Rotate the ratchet in a clockwise direction. If it turns smoothly, continue doing this until it becomes stiff. Stop the procedure in the event the nut becomes very tight.

If the nut spins without tightening, there might be a problem with the nut or the drive post. It is not easy to replace a damaged nut, but you can replace the drive post by buying a new windshield wiper motor.

Test the wipers

Before testing the wipers, return the plastic dust cup to its place. Get into your Sambar Kei truck. Put the engine on and put the wiper switch on. If it operates smoothly, it is okay, but it keeps slipping, it is damaged, and you will have to buy a new one.

Conclusion

Adjusting the wipers of a Subaru Sambar is a simple step with the right tools. Activities that the wipers perform loosen them with time. Removing the debris on the wipers can also loosen them. This guide has provided simple steps to follow to tighten your wipers.

Replacing Subaru Sambar Timing Belt

Subaru Sambar ranks among the most popular mini trucks in the market. Their dominance is rising by the day, and with the reputation that Subaru has gained, there is little doubt about their deliverability and reliability. It goes without saying that for one to get the best out of their vehicle, there is need for regular maintenance and servicing. Despite their incredible performance and reliability, Subaru Sambar is no exception to this fact. You need to make sure that everything on your mini truck is spot on. In this guide, we will be focusing our attention on replacing the Subaru Sambar timing belt.

But before doing that, do you know the purpose of a timing belt in a vehicle? The timing belt in a vehicle plays a crucial role and the engine would not run or the vehicle moves without it. If it stops functioning, then the vehicle will come to a standstill. It may look like a simple rubber device, but there is nothing else that can replace it and its functionality.

The purpose of a timing belt is to connect the crankshaft to the camshaft. It controls the piston and valve functioning of the vehicle. The opening and closing of engine valves would not be possible without it.

Guide On Replacing Subaru Sambar Timing Belt

Like any other part of the vehicle, the timing belt tends to wear out with time. In fact, it has been recommended by experts that one should replace their timing belt after every 100,000 kilometers. It can however be sooner, depending on how you see the timing belt condition.

When replacing Subaru Sambar timing belt, follow the steps outlined below.

First, you need to remove the wheel and then the covering that protects it. After doing that, you will now see the pulley visible.

Next, take off the alternator and the air conditioner if it runs on the same gear.

Now that everything on the way is removed, go ahead and unscrew the crankshaft bolt, and then you can now remove the pulley. Usually, this is achieved using a curved collar spanner.

While ensuring that the camshaft pulley is in place, gently remove the camshaft pulley. You may also realize that the timing belt-positioning changes when removing the camshaft pulley. So, you should remember to position it back to position.

While removing or replacing the timing belt, it is also important to replace the belt tensioner. When making these changes pay attention to the inner rings.

You can then replace the timing belt while making sure that it is well-aligned to avoid any problems.

Conclusion

Replacing the timing belt on your Subaru Sambar is important to ensure that it runs smoothly and doesn’t cause any problems. It is an easy process as shown in the steps above.

This ensures that the Subaru Sambar mini truck continues serving you as it should. Be sure to check out some of the Japanese mini trucks including Subaru Sambar and many others on our listing page. We can help you with the shipping process.