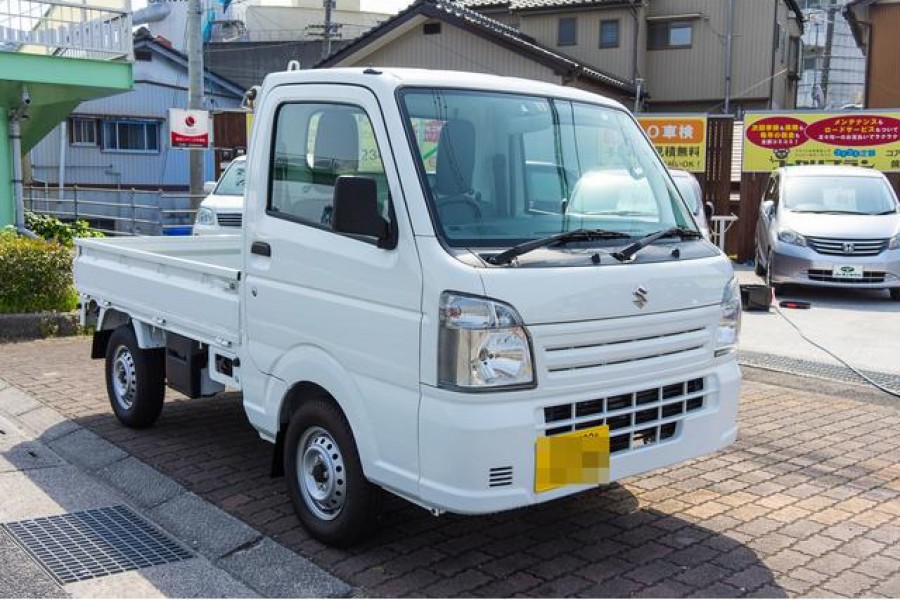
How to Remove a Crankshaft in a Mini Truck
There is no doubt that the Japanese mini trucks are among the best when it comes to the lightweight truck class. A mini truck’s engine has seven significant components. The crankshaft is among the most basic parts of an engine. It converts the motion energy to rotational energy. However, the crankshaft might need a replacement. In this guide, we will go through steps on how to remove a crankshaft in a mini truck.
Steps To Remove a Crankshaft in a Mini Truck
Unfasten the Belts in the Engine
The engine has belts that connect and transmit power to the accessories of the engine. These accessories have adjustment brackets, locate and loosen the bolts in the adjustment brackets. Doing this will aid you in removing the engine belts.
Detach the Pulley
Three bolts attach the pulley to the harmonic balancer, locate the bolts and remove each one. After successfully removing the bolts, you can remove the pulley.
Dismantle the Harmonic Balancer
The pulley is attached to the harmonic balancer. Removing it leaves the harmonic alone. There is a bolt connecting the balancer and the snout. Use a wrench to remove it. In the middle of the puller, there is a threaded rod, turn this rod in a clockwise direction, and the harmonic balancer will gradually detach from the crankshaft.
Drain the Radiator
Untighten the plug at the bottom of the radiator to drain all the liquid in it. Using s wrench, turn the plug in an anticlockwise direction and it will let the water from the radiator.
Detach the Water Pump
Check the front of your engine to see the water pump. Many bolts firmly hold it. Remove all these bolts, and the water pump will quickly come out.
Detach the Timing Chain Cover
Removing the water pump will expose the timing chain cover. It is attached to the engine with several bolts, remove them, and it will come out smoothly.
Detach the Timing Chain
Removing the timing chain cover will expose the timing chain, which is composed of a chain and two sprockets. A bigger sprocket is attached to the end of the camshaft with three bolts. Gently removing the bolts will remove the sprockets, and the timing chain will come out.
Detach the Oil Pan
Below the engine, there is the oil pun. It is attached to the engine with many bolts around it. Remove all these bolts, and the oil pan will come out. At this level, both the crankshaft and oil pump are visible.
Detach the Oil Pump
Two bolts from the engine support the oil pump. Remove these bolts, and oil pump will come out.
Detach the Connecting Rod Caps
At this point, the crankshaft is visible. The connecting rods attach the cylinder to the crankshaft. Each cylinder has a connecting rod cap. Remove the two nuts attaching the connecting rod caps to the crankshaft.
Detach the Main Caps
Main caps attach the crankshaft to the engine block. They are usually four in number. Removing them one by one will let the crankshaft drop down.
Conclusion
It is effortless to note a problem with the crankshaft in your Japanese mini truck. If the engine check light appears on the dashboard, it becomes hard to start your engine, or you experience a weak acceleration. Consider the steps in this guide to check your crankshaft.

