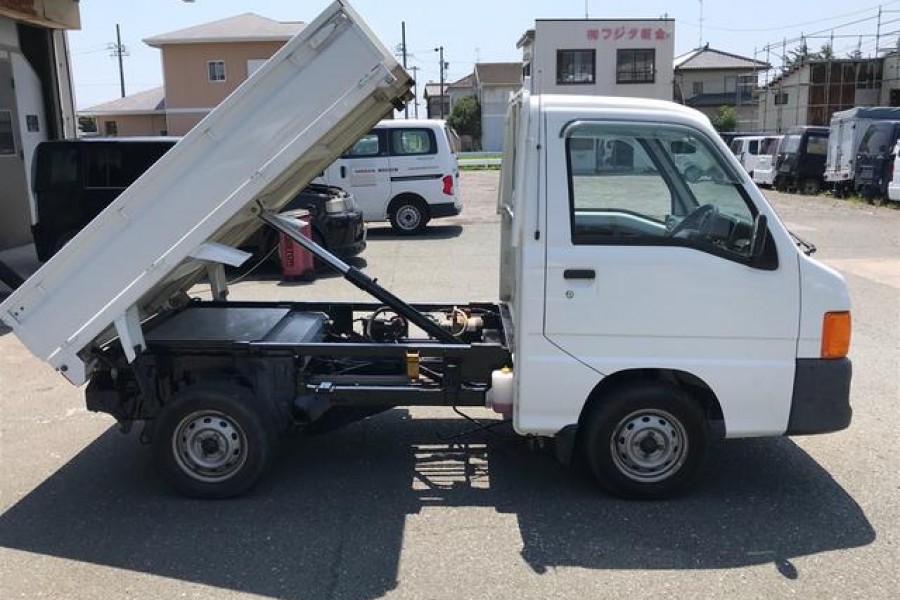
Replace Mini Truck CV Axle Boots
The power transmission system in a mini truck is complex to understand, but you can if you dedicate your time you will surely understand it. The engine is the power production department, but how does the engine do this? It has various mechanical parts such as pistons, cylinders, and fuel injectors. The power from the engine rotates metals called shafts; these metals transmit the rotational power to the wheels. The shafts are in two classifications, the drive, and the driven shafts. The driven shaft is directly connected to the axles. It is the axles that rotate the wheels.
The CV boots house the CV joints and offer protection against harmful debris. It also ensures the grease lubricating the cv joint is in place. The CV boot, on some occasions, might break.
How to Replace Mini Truck CV Axle Boots
Want to know how to replace mini truck CV axle boots? Here you will learn what to do in case the CV boot of your mini truck breaks.
Remove the Tire
The first step to replacing the cv axle boot is removing the tire. To remove your tire, ensure your mini truck is safely parked and check whether your hand brake is engaged. Chock the rear wheels for additional safety. The lug nuts are hard to loosen after lifting your mini truck. Loosen them by making two turns on each. Use the hydraulic jack to lift your mini truck until it reaches the jacking point. When lifting the vehicle, practice caution and ensure it is safely lifted. Then remove all the lug nuts, and your wheel will be free to be removed.
Remove the broken CV Boot
After removing the wheel, you will see and inspect the cv boots. To remove the broken one, do the following.
The rubber boots have metal clamps. Cut these clumps using cutters to remove them.
After removing the metal clamps, cut the rubber boots using a blade. When doing this, start by the edge close to you to the furthest edge.
Clean the Axle and the Joints
First, ensure you have your goggles and gloves on and place a basin under your car so you do not stain the floor of your garage.
The parts cleaner agent will clean the axle and the joints perfectly by effectively removing the grease and dirt.
Fix the New CV Axle Boot
The new CV axle boot will be with grease. Cut the grease tip and apply it to the CV joint and the axle.
After applying grease, check the new cv boot and you will see grooves on it, open these grooves and fix it on the axle. Once it has covered the axle, use glue to fix and attach its ends. Apply grease on both the inner and the outer parts of the axle. At this point, you are almost through.
Do the reverse procedures to fix back everything.
Conclusion
The CV boots usually wear out. If they wear out, the only solution is to replace them, and it is not a complex procedure in case you know what to do. If you are unsure, you must do it under the supervision of your mechanic.