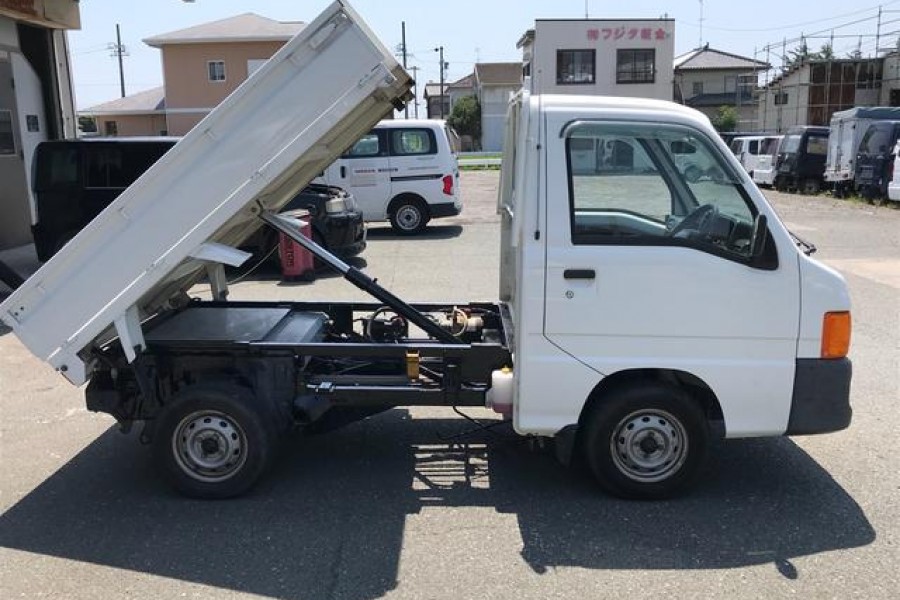
A universal joint is necessary to facilitate the power movement to the rear wheels of your Subaru Sambar. The crucial role it plays exposes it to tear and wear with time. When worn out, you will note signs that the Subaru Sambar will display. Replacing a worn-out universal joint is not complex if you have automotive experience. This guide will simplify changing universal joint of a Subaru Sambar as part of its maintenance. Consider the below procedure to replace your U-Joint.
Inspect the U-Joint of Your Subaru Sambar
Inspect the u-joint by holding and trying to move the driveshaft. If the shaft moves, then the U-joint is worn out, and you should replace it. Check for physical damages on the driveshaft or any impurity clinging on it as such cause imbalance and make your minitruck vibrate when driving.
Remove the driveshaft
After noting that your U-joint is worn out, assemble these materials to remove the driveshaft; Drain pan, Sockets and Ratchets, Glasses and gloves, and Wrench set. Lift your mini truck to access the driveshaft. If you use a jack to lift your vehicle, make sure it’s supported with the jack stands for your safety. Mark the driveshaft to help you install it back in its original position. Locate the bolts holding the driveshaft and loosen them. After successfully removing the bolts, pull out the driveshaft from the transmission.
Check Again the Condition of the U-Joint
After removing the driveshaft, do further inspection of the U-joint by trying to move each joint. If the joints are not moving smoothly, there is a problem with the U-joint that should be addressed.
Replace the U-Joint
You need the following materials for this process to be successful: Hammer, Pliers, Sockets and Ratchets, and the new U-joint.
Remove the snap rings for the bearing caps to come out quickly. To remove the old U-joint, you must apply some force, and the hammer will serve you better. Use the hummer to hit it hard, and it will come out. When installing the new joint, inspect it and ensure it is similar to the old one. The new joint will have new caps, remove them and install them on the yoke. If the new joint is tight, gently hummer it, and it will be free.
Fix Back the Driveshaft
Clean the entire driveshaft using a rag before installing it back. When fixing it on the transmission, ensure the marks you made while removing it are correctly aligned and tightened. At this point, the Subaru Sambar is almost ready to hit the road. Before leaving, check if transmission fluid was lost during the process and take necessary action.
Conclusion
Changing a universal joint of a Subaru Sambar can be a satisfying job if well done, and you can feel the difference. Sometimes poor maintenance and rust might make replacing your U-Joint difficult. You have to be patient because you shall succeed by the end of the day. Make sure you are accompanied by your mechanic when you replace the U-joint.

